DIY – For Wall Panels
- In case you decide not to glue teh panels to the walls, you start by placing wooden battens approx. every 30cm. To install the panels vertically, place the battens horizontally and vice versa.
- Continue by measuring the number of panels you will need for the wall and ceiling. If the last panel is to narrow, we advise to saw the first panel so that you have at least 4cm on either side.
- Start by fixing the start and edge trim(No.3) around the surface you wantto decorate. Insert the first panel into the trim. Make sure the first panel is placed perfectly straight (using a spirit-level or a thread with weight) before stapling, nailinug or screwing the lip onto the batten (every 30cm). Leave about 5mm clearance between the panel and the edge trim. A fine tooth saw is recommended for cutting the panels to size.
- Insert the second panel completely intop the groove before stapling (nailing or screwing) into the lip. Proceed the same way with the next panels. For the finish you can also use the internal corner profile (No. 1), the external corner (No. 2) and/or the center joint (No.4).
DIY – For Wall Panels
Wall Panels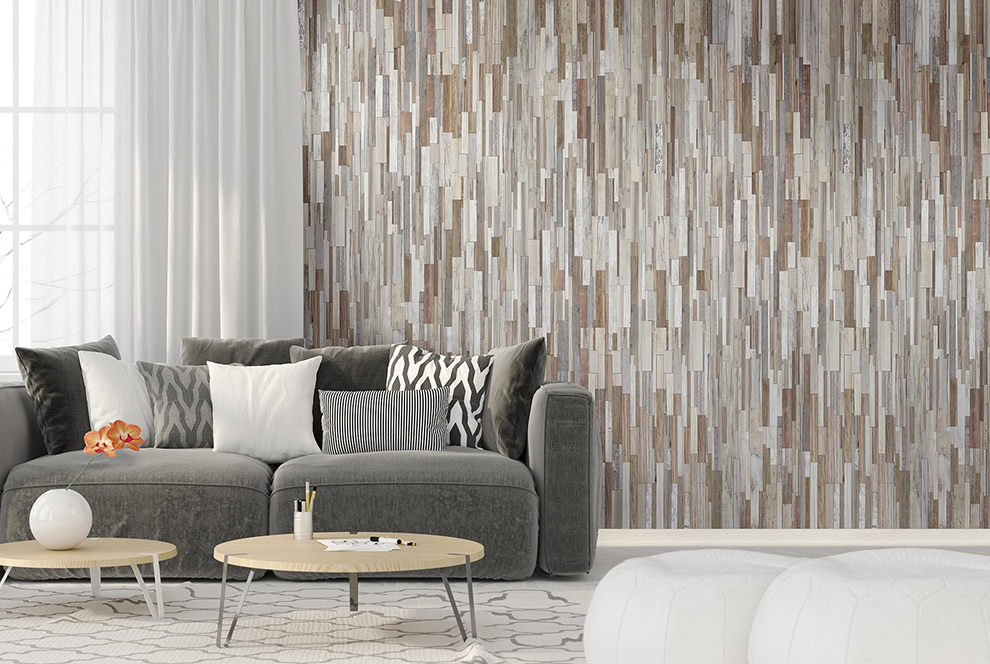 Wall Panels
Wall Panels - In case you decide not to glue teh panels to the walls, you start by placing wooden battens approx. every 30cm. To install the panels vertically, place the battens horizontally and vice versa.
- Continue by measuring the number of panels you will need for the wall and ceiling. If the last panel is to narrow, we advise to saw the first panel so that you have at least 4cm on either side.
- Start by fixing the start and edge trim(No.3) around the surface you wantto decorate. Insert the first panel into the trim. Make sure the first panel is placed perfectly straight (using a spirit-level or a thread with weight) before stapling, nailinug or screwing the lip onto the batten (every 30cm). Leave about 5mm clearance between the panel and the edge trim. A fine tooth saw is recommended for cutting the panels to size.
- Insert the second panel completely intop the groove before stapling (nailing or screwing) into the lip. Proceed the same way with the next panels. For the finish you can also use the internal corner profile (No. 1), the external corner (No. 2) and/or the center joint (No.4).
DIY – For Ceiling Panels
Ceiling Panels Ceiling Panels
Ceiling Panels DIY – For Ceiling Panels
- Clean the surface of ceiling.
- Nail wooden or steel battens(20mm – 30mm thick) into the wall and ceiling, with all the corners firstly, then on the plane with the distance of 400mm away between every wooden batten.
- Screw PVC profiles(cornices) on all the corners, then insert the panel into the corner profiles, then the folling panel into the first panel.
- Screw PVC second panel’s notch side into the wooden or steel battens, then insert the third panel, then the fourth, and nail the fourth’s notch side, then fifth and sixth, then…
- Attention for the distance and notch side panel: for the ways above is based on 250mm or 300mm wide panels, and wooden or steel battens between distance is 400mm, so every 2 panel, screw the second notch. Surely you could change the ways as per your situation presently, by way of changing the distance of the panels and the wooden or stell battens.

pvc-ceilings Installation:
Before installation, all the profiles need to be checked to make sure they have the same length or lengths corresponding to the wall panel's surface.
In cases of damp, damaged or uneven walls we recommend the use of treated timbers for framework.
Necessary Materials for The Installation: PVC Wall Panels, PVC Top Corners (e F2-L), PVC Connective Jointers (0 H-L), PVC End Trims (C) 7-L), PVC Internal Jointers (0 W-L), PVC External Jointers (0 Y-L), Stalls for Wood, Plastic Dowels, Wooden Branderings, Nails and Screws.

